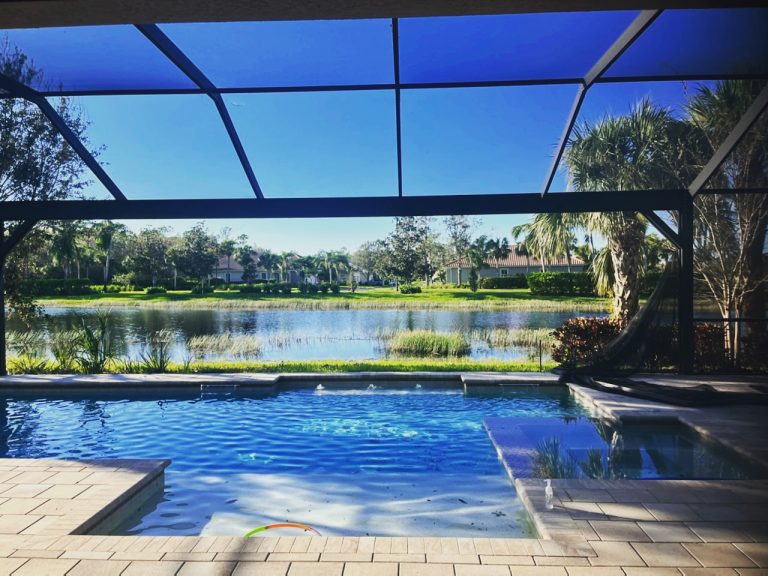
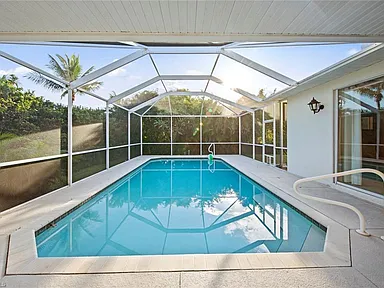
If you live in Southwest Florida cities like Port Charlotte, Punta Gorda, North Port, or Englewood, you know how important your lanai screen is for keeping bugs and debris out while you enjoy the outdoors. Small tears in the screen are not uncommon, but if left untreated, they can quickly worsen, making repairs more challenging and costly. Here’s a guide on how to tackle these small repairs yourself to save time and money.
1. Assess the Damage: When to Repair or Replace
The first step in repairing a tear is to evaluate its size and placement. Small tears, up to about three inches, can typically be patched, while larger or more widespread damage may require screen replacement. If the tear is located in a high-traffic area, or if the screen itself is worn or brittle, it may be better to consider a replacement.
2. Gather Your Repair Materials
For small lanai screen repairs, you’ll need:
- Screen Repair Patch Kit: Available at most hardware stores, these kits come with everything needed to apply a patch.
- Clear Nail Polish: Works well for tiny holes or to seal edges around a patch.
- Scissors: To cut patches to the right size.
- Tweezers or Needle: Useful for fixing fine mesh areas.
- Weatherproof Glue (optional): For more secure, long-lasting repairs.
If you’re in Port Charlotte or nearby areas, most local hardware stores will carry these items, making it easy to get started quickly.
3. Clean the Area Around the Tear
Dirt, dust, and other debris can interfere with patching materials. Use a damp cloth to gently clean the area around the tear, removing any loose particles. Ensure the area is dry before applying any repair materials, as this will help the patch or adhesive stick more effectively.
4. Choose the Right Repair Method
Depending on the tear size, different repair techniques may work better:
- For Small Holes or Tiny Tears (less than half an inch): Dabbing a little clear nail polish over the tear can seal the hole, preventing it from widening. This works best for minor damage and serves as a quick fix that dries quickly.
- For Small Rips or Tears (up to three inches): A patch is a good solution here. Many kits come with adhesive-backed patches, which are easy to apply. Simply cut the patch to a size slightly larger than the tear, peel the backing, and press it firmly over the damaged area. For best results, press from both sides of the screen and hold for a few seconds.
5. Apply a Patch for Larger Tears
If you’re working with a larger tear, here’s how to apply a screen patch effectively:
- Cut the Patch: Cut the patch about an inch larger than the tear itself to ensure good coverage.
- Secure the Patch with Glue (Optional): Apply a thin layer of weatherproof glue along the edges of the patch for added durability, especially for areas exposed to rain or sun.
- Apply the Patch: Place the patch over the tear and press firmly, holding it in place for 10-20 seconds to make sure it adheres well. Avoid touching the patch until it has fully dried.
- Reinforce with Nail Polish: For extra security, dab clear nail polish along the edges of the patch to prevent fraying or peeling.
6. Check for Proper Alignment
When applying a patch or glue, make sure the patch is smooth and aligned with the screen’s existing grid. This helps maintain the screen’s appearance and airflow. A neat, well-aligned repair will be more effective and less noticeable.
7. Consider Temporary Tape as a Quick Fix
If you’re short on time, weatherproof tape can temporarily seal a tear until you can complete a proper repair. This is especially helpful if a tear happens before a gathering or if it’s in a high-traffic area that needs quick attention. However, avoid relying on tape long-term, as it tends to peel or fray over time.
8. Prevent Future Tears
To prevent future damage, consider these tips:
- Use Pet-Resistant Screens: If you have pets, pet-resistant screens can withstand more wear and tear.
- Trim Nearby Branches: Sharp branches or plants near your lanai can cause tears, especially in windy conditions.
- Handle with Care: Avoid pressing or stretching screens unnecessarily when moving items in and out of your lanai.
When to Contact a Professional
For persistent tears or if the screen material feels brittle, it might be time to consult a professional. Small repairs are manageable on your own, but larger jobs can benefit from the expertise and durable materials a service like Best Rescreen Company offers. Our team can handle repairs and replacements for residents across Port Charlotte, Punta Gorda, North Port, and Englewood, using quality materials designed to last in Florida’s unique climate.
Best Rescreen Company: Your Trusted Partner for Screen Repairs
Best Rescreen Company is committed to helping Southwest Florida residents maintain their outdoor screens with minimal hassle. Whether you’re dealing with a minor tear or need a full replacement, our team is here to provide expert guidance and efficient service.
- Location: Port Charlotte, FL
- Contact: (239) 344-7774
- Website: BestRescreenCo.com
Small tears in your lanai screen are easy to overlook but addressing them promptly can prevent larger issues down the road. By using simple tools and repair techniques, you can restore your screen and enjoy your outdoor space without interruptions. And for larger repair needs, Best Rescreen Company is here to help—serving Port Charlotte, Punta Gorda, North Port, and beyond with dependable, quality service. Reach out to us to learn more about maintaining a tear-free lanai!


