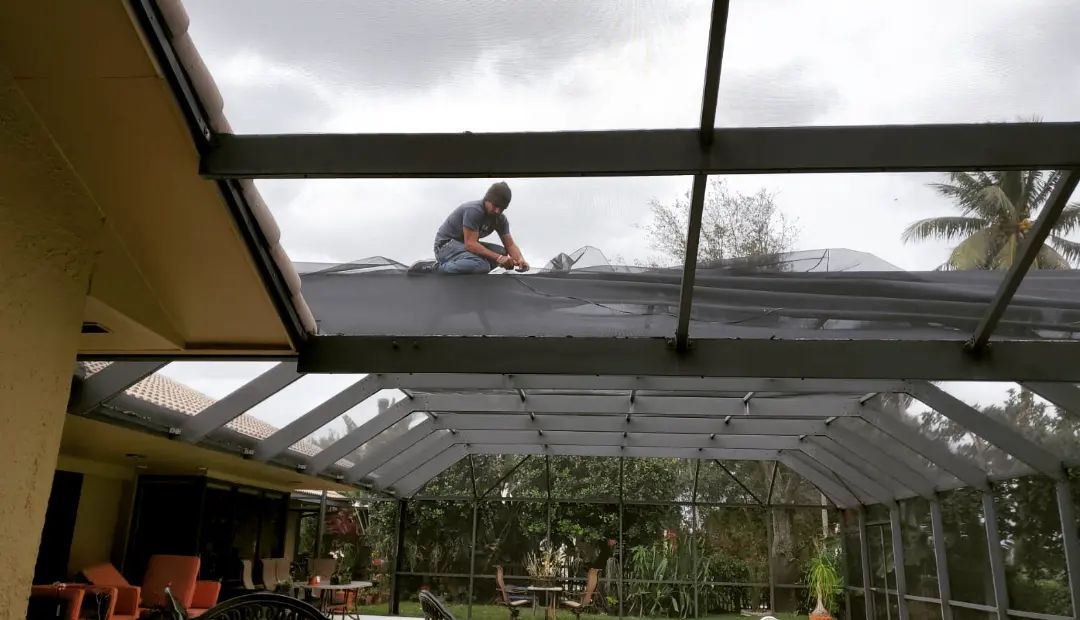
Precision is key when it comes to measuring and cutting screen material for your patio, lanai, or pool cage. Achieving accurate cuts ensures a snug fit, professional appearance, and effective function of your screens. Whether you’re tackling this as a DIY project or preparing for a professional installation, understanding the correct techniques is crucial. Here’s a detailed guide on how to measure and cut screen material accurately.
Why Accurate Measurement and Cutting Matter
Accurate measurements and precise cuts are essential for:
- Optimal Fit: Prevents gaps that could allow insects to enter.
- Aesthetics: Ensures a clean, professional look.
- Durability: Reduces stress on the screen material, preventing tears and sagging over time.
Tools and Materials You’ll Need
- Measuring Tape: A sturdy, retractable tape measure for accurate measurements.
- Utility Knife or Scissors: Sharp tools for clean cuts.
- Straight Edge: A ruler or other straight edge to guide cuts.
- Marker or Pencil: For marking measurements on the screen material.
- Screen Material: Choose the appropriate type (fiberglass, aluminum, pet-resistant, etc.).
- Cutting Surface: A large, flat surface to lay out and cut the screen material.
Step-by-Step Guide
Step 1: Measuring the Frame
- Measure the Width and Height:
- Use your measuring tape to measure the width and height of the frame where the screen will be installed. Measure at least twice to ensure accuracy.
- Add Extra Material:
- Add at least one inch to each side of your measurements. This extra material will help you secure the screen tightly within the frame.
Step 2: Preparing the Screen Material
- Lay Out the Screen:
- Roll out the screen material on your flat cutting surface. Ensure it is smooth and free of wrinkles.
- Mark the Measurements:
- Using your measurements, mark the dimensions on the screen material with a marker or pencil. Remember to include the extra inch you added for securing the screen.
- Double-Check Measurements:
- Verify your marks by measuring them again. This double-checking step can save you from making costly mistakes.
Step 3: Cutting the Screen Material
- Align the Straight Edge:
- Place the straight edge along the marked lines to guide your cuts. This will help ensure straight, clean edges.
- Cut the Screen:
- Use a utility knife or sharp scissors to cut along the marked lines. If using a utility knife, apply even pressure and make sure your cuts are smooth and controlled to avoid jagged edges.
- Check the Edges:
- Inspect the cut edges for any frays or unevenness. If necessary, trim the edges slightly to ensure they are straight and clean.
Step 4: Fitting the Screen to the Frame
- Position the Screen:
- Lay the cut screen material over the frame, making sure it overlaps the edges evenly on all sides.
- Secure the Screen:
- Using the spline and a spline roller, secure the screen material into the frame’s grooves. Start at one corner and work your way around, keeping the screen taut to avoid wrinkles.
Tips for Success
- Work on a Large, Flat Surface: A spacious, flat area ensures you can lay out the screen material without it bunching up or folding.
- Sharp Tools: Ensure your utility knife or scissors are sharp. Dull blades can cause fraying or uneven cuts.
- Use Clips or Weights: If you’re working with a large piece of screen material, use clips or weights to hold it in place while you measure and cut.
- Measure Twice, Cut Once: This old adage holds true. Double-checking your measurements before cutting can prevent errors.
Troubleshooting Common Issues
- Uneven Cuts:
- Re-cut with a straight edge and utility knife for a clean finish.
- Wrinkles in Screen:
- Ensure the screen is flat and taut before marking and cutting.
- Frayed Edges:
- Trim with sharp scissors and handle gently to prevent further fraying.
Professional Help
While DIY screen installation can be rewarding, sometimes professional help ensures the best results. Best Rescreen Company provides expert screen repair and replacement services across Naples, Marco Island, Bonita Springs, Cape Coral, and Fort Myers. Their skilled technicians use high-quality materials and precise techniques to guarantee a perfect fit and finish.
Contact Information
For expert screen services, reach out to Best Rescreen Company:
Visit: Best Rescreen Company
Phone: (239) 344-7774
Accurate measurement and cutting are foundational steps in successful screen installation. By following these detailed guidelines, you can achieve a professional-quality fit and finish. For those who prefer professional services, Best Rescreen Company is ready to assist with all your screen repair and replacement needs, ensuring your outdoor spaces remain functional and beautiful.


